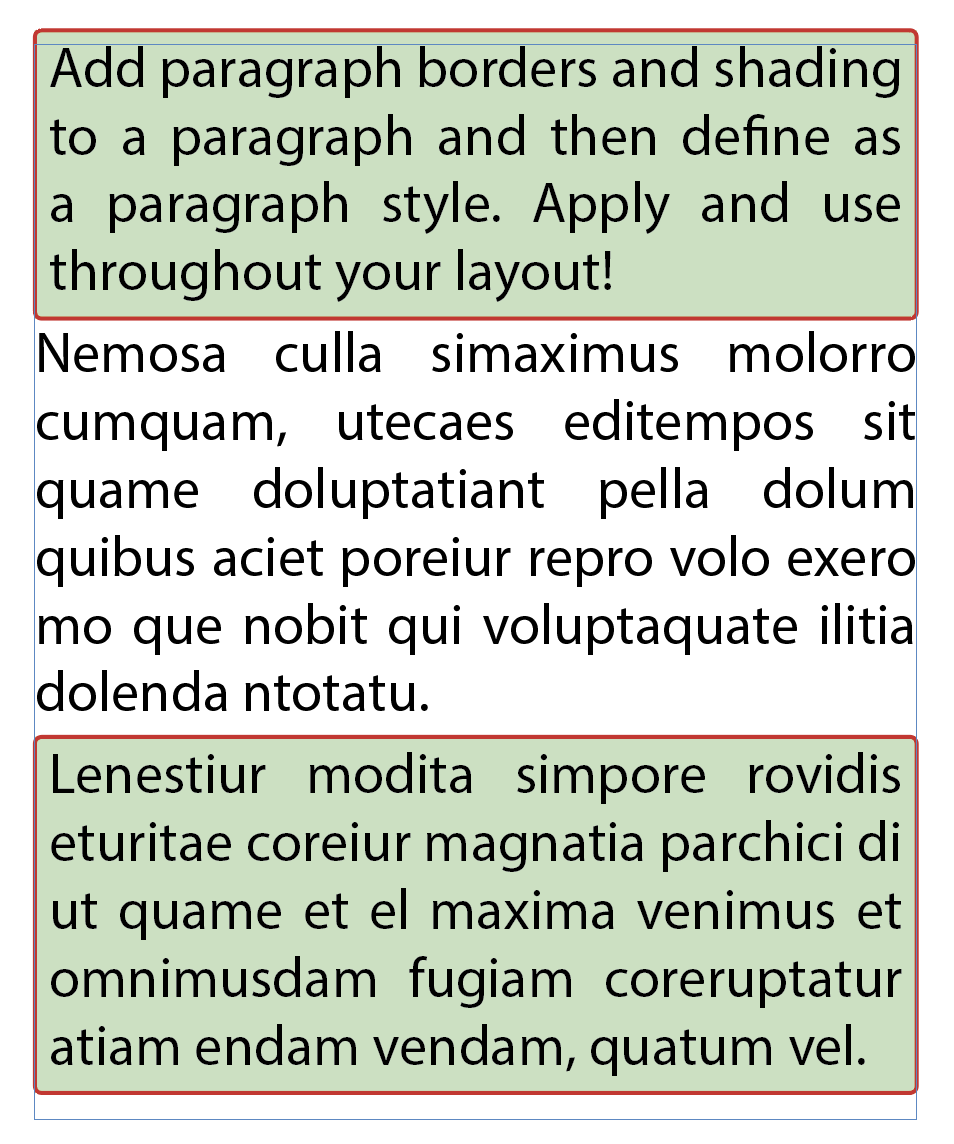
InDesign CC 2018 has just been released, with some great new features for designers. One that’s particularly welcome is the Paragraph Borders feature, which lets you add one or more borders around a paragraph of text. This feature can be combined with the (updated) Paragraph Shading feature to create some terrific visual effects!

2. Choose a swatch color from the border popup menu at the right of the checkbox.
3. To edit the border appearance, Opt-click (Mac) or Alt-click (Windows) the Paragraph Border icon to open the Paragraph Border dialog box (which includes Paragraph Shading options).
Here, you can: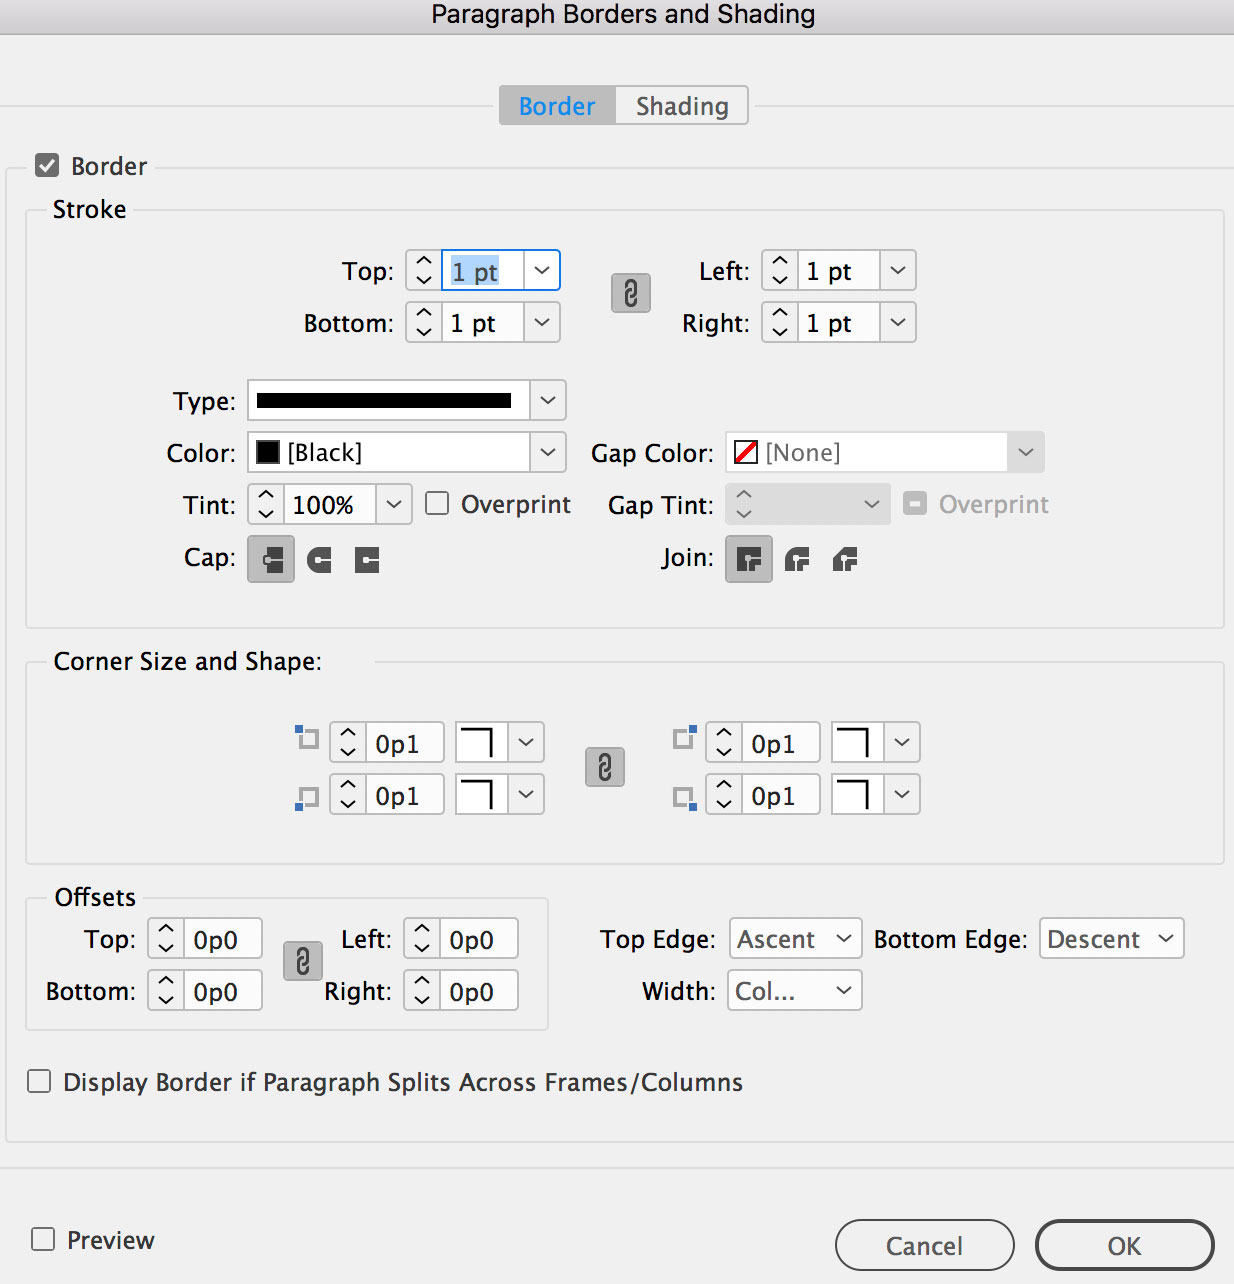
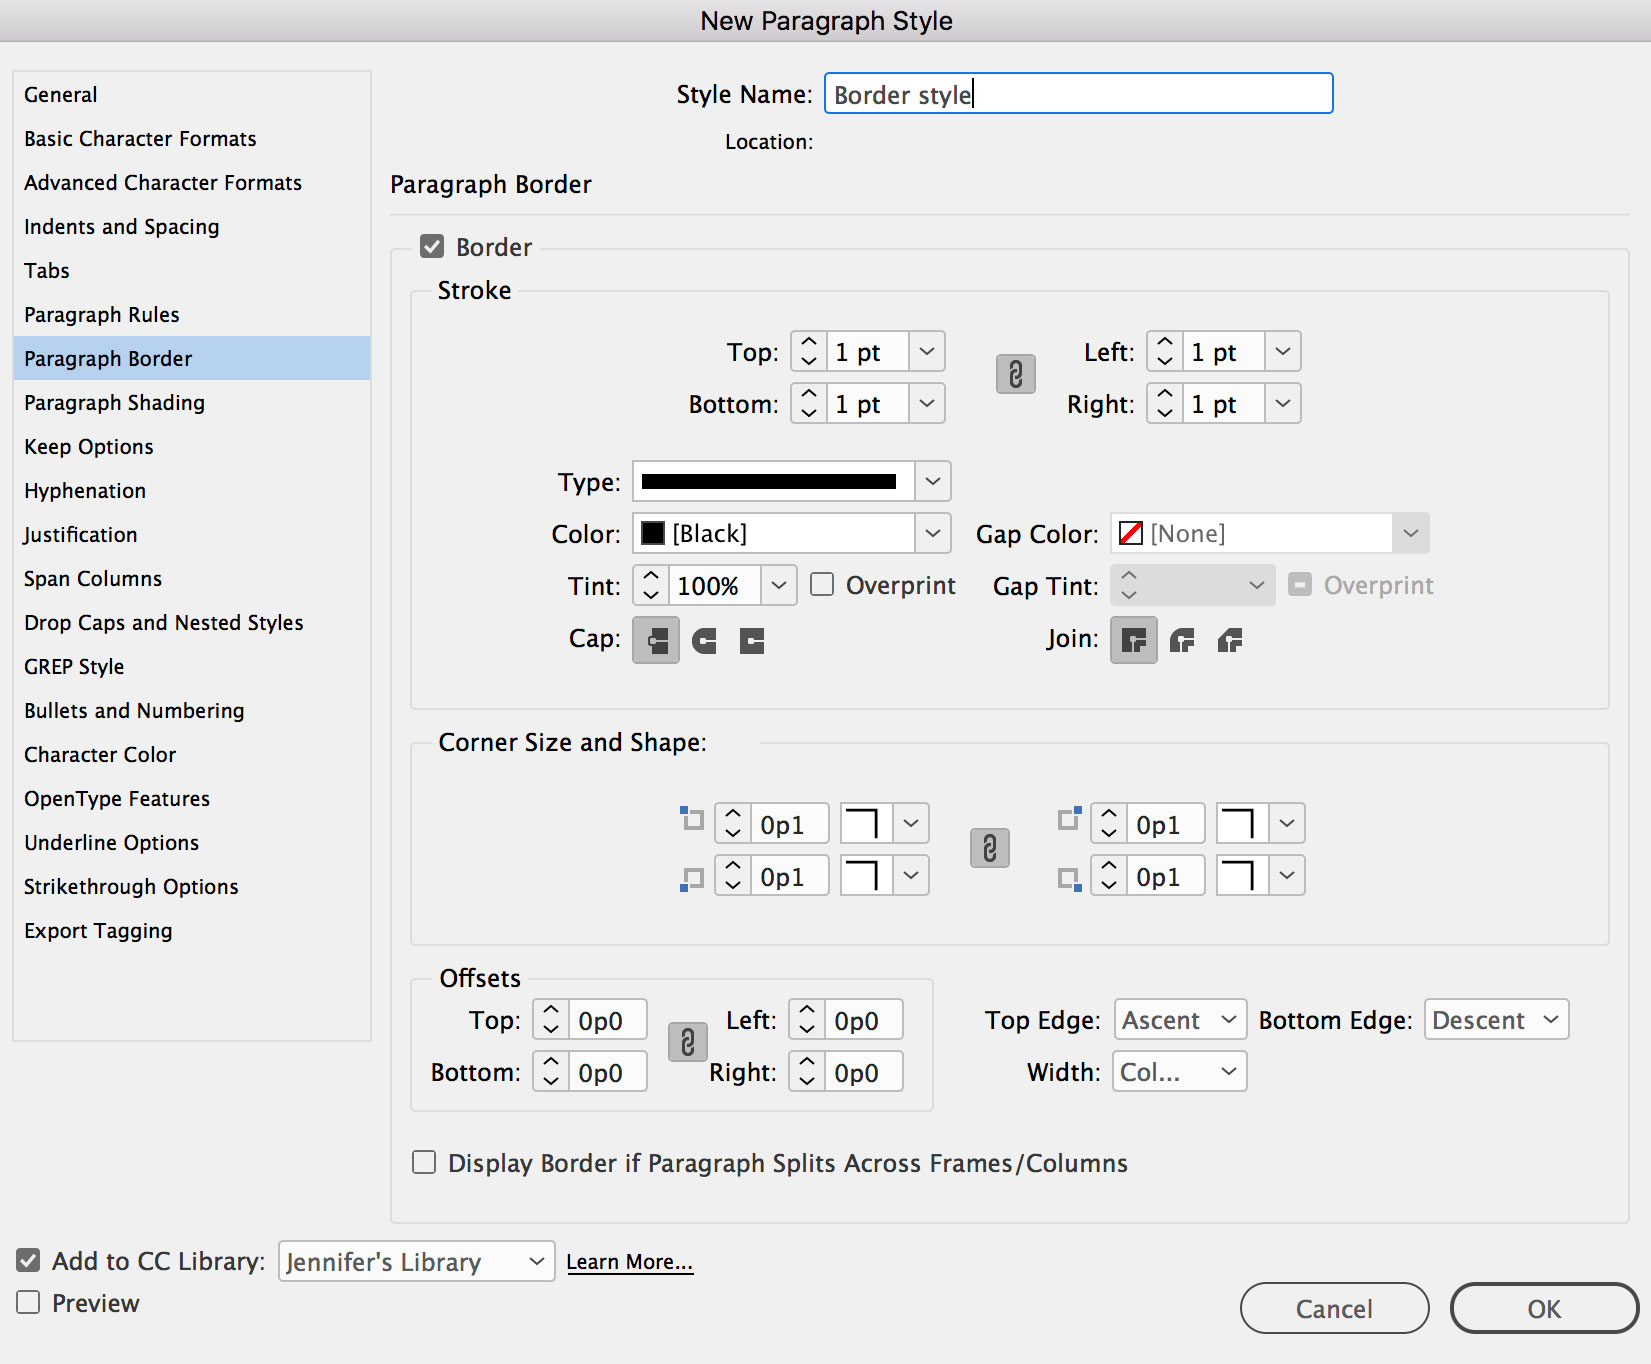
- Set the stroke weight for each side, type (dotted, dashed, etc.).
- Set the color, stroke style and tint value of the border.
- Set the cap and join styles to subtly change the end or corner shape of a border.
- Set a Corner Size & Shape to change the corners to rounded, beveled, etc.
- Increase or decrease the distance between the border and the text using the Offsets settings.
- Set the border to be the width of the text column or the width of the text itself with the Width popup menu.
Paragraph Border settings are also included in paragraph style definitions. So you can create and then apply them to paragraphs throughout your layout!